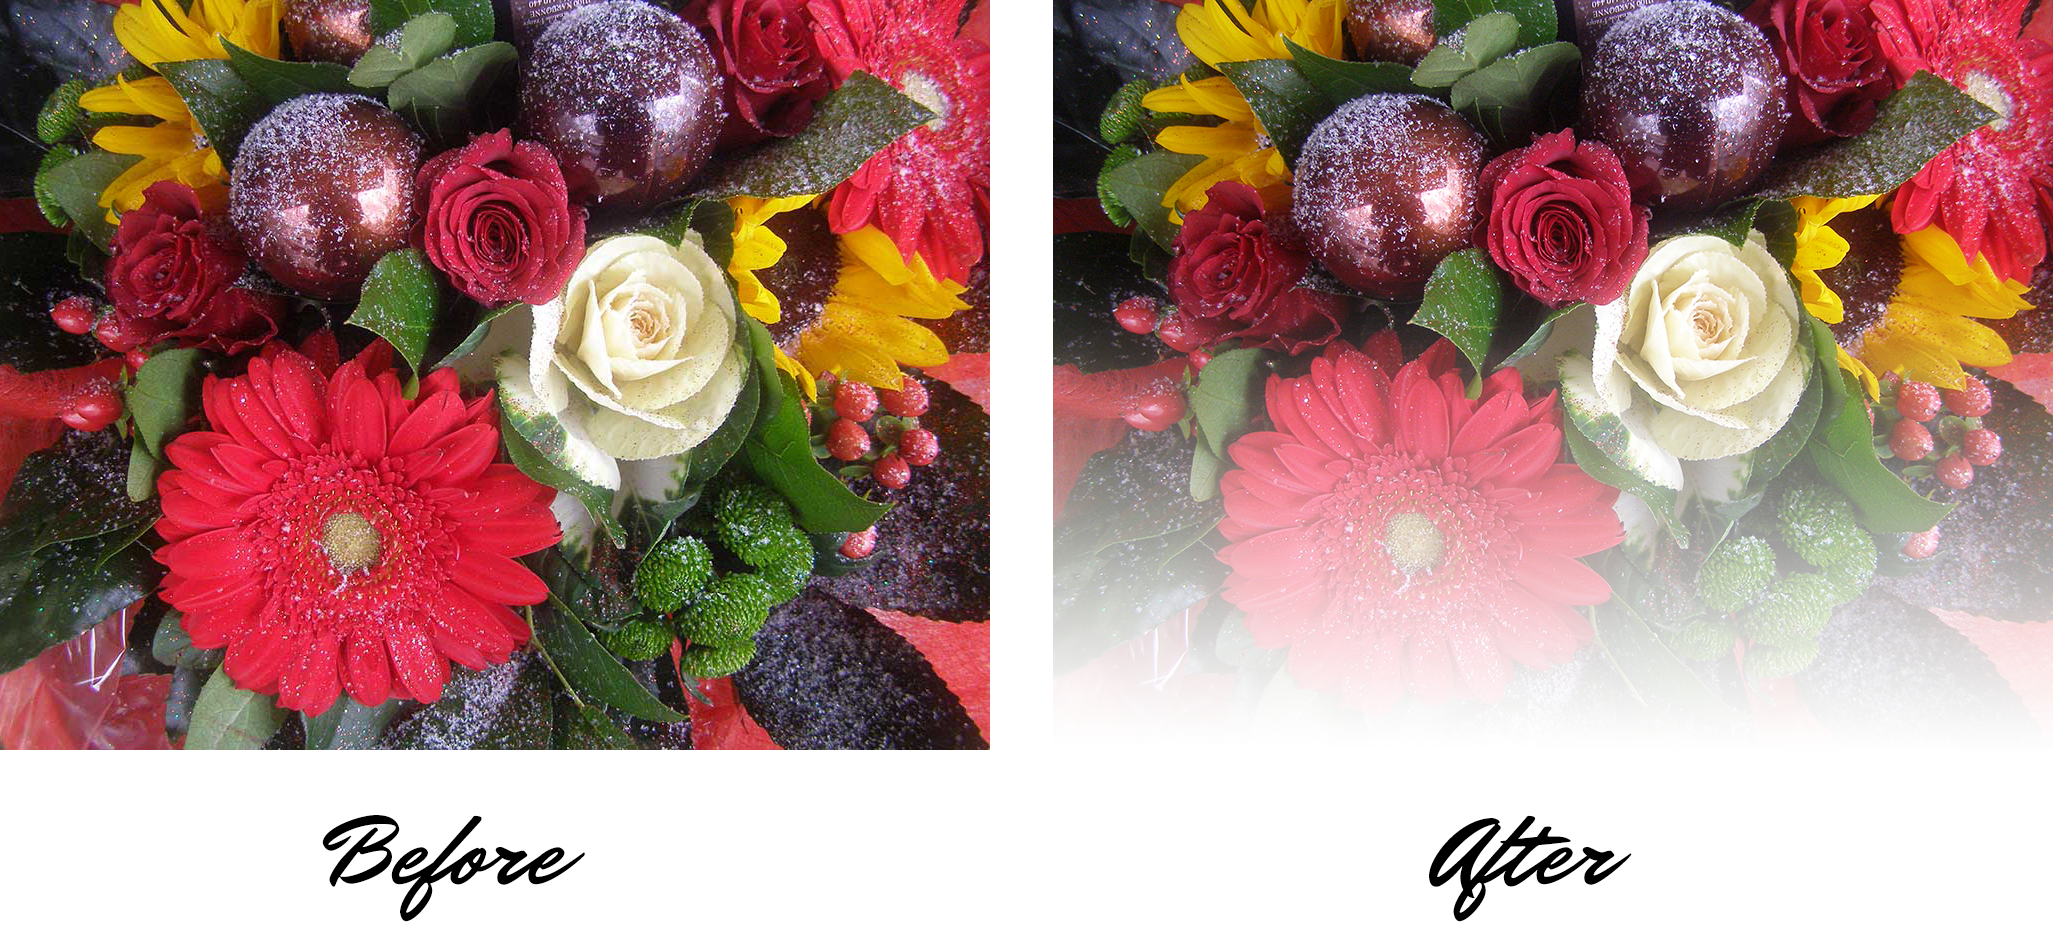
Learn how to create a gradual fade in Photoshop
One of the simplest and most common Photoshop effects is the fade. In our tutorial below, we’ve provided seven simple steps on how to fade an image in Photoshop.
- Open the original file.
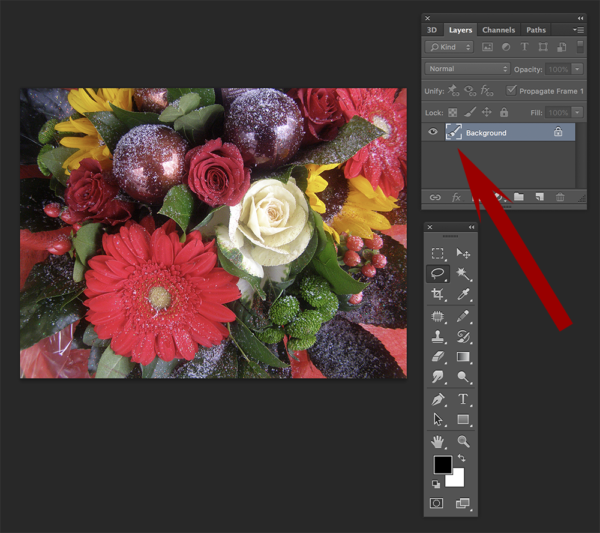
- Put the photo on its own layer.
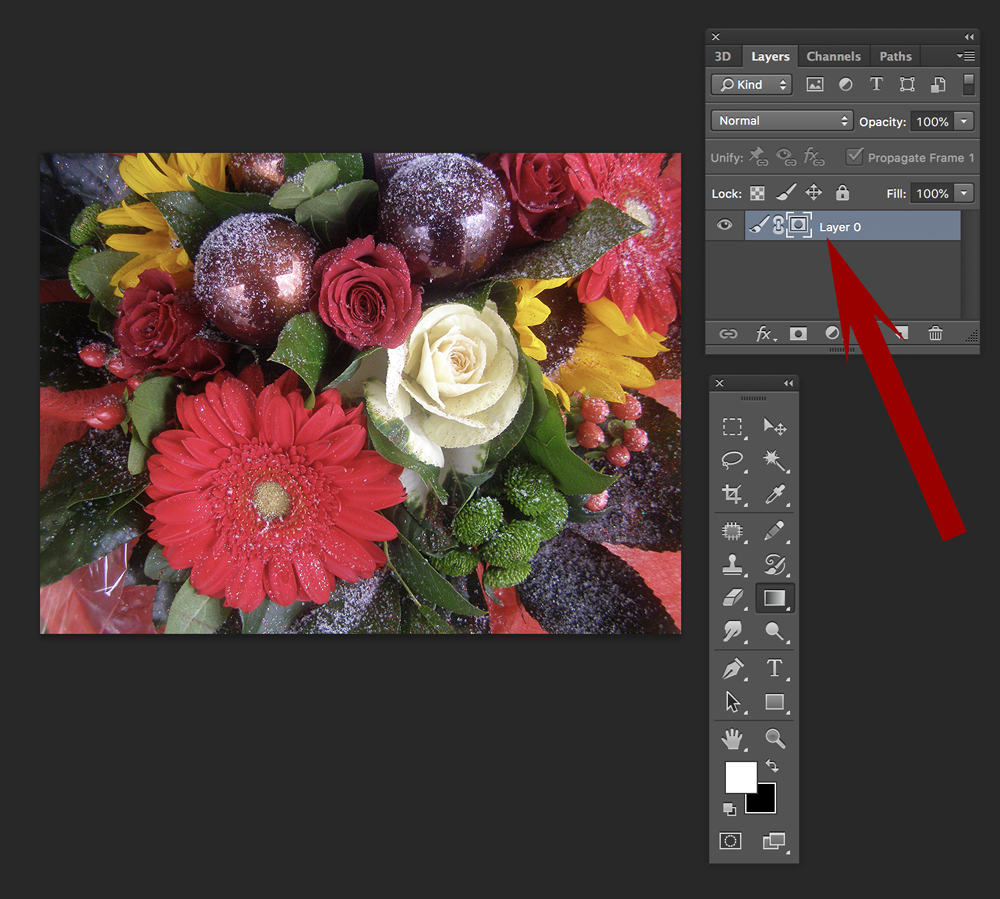
If the image is on a background layer as illustrated below, you’ll need to double click the image in the layers panel to put it on its own layer that can be altered. When the new layer panel appears, click OK.
- The layers panel should now look like this:
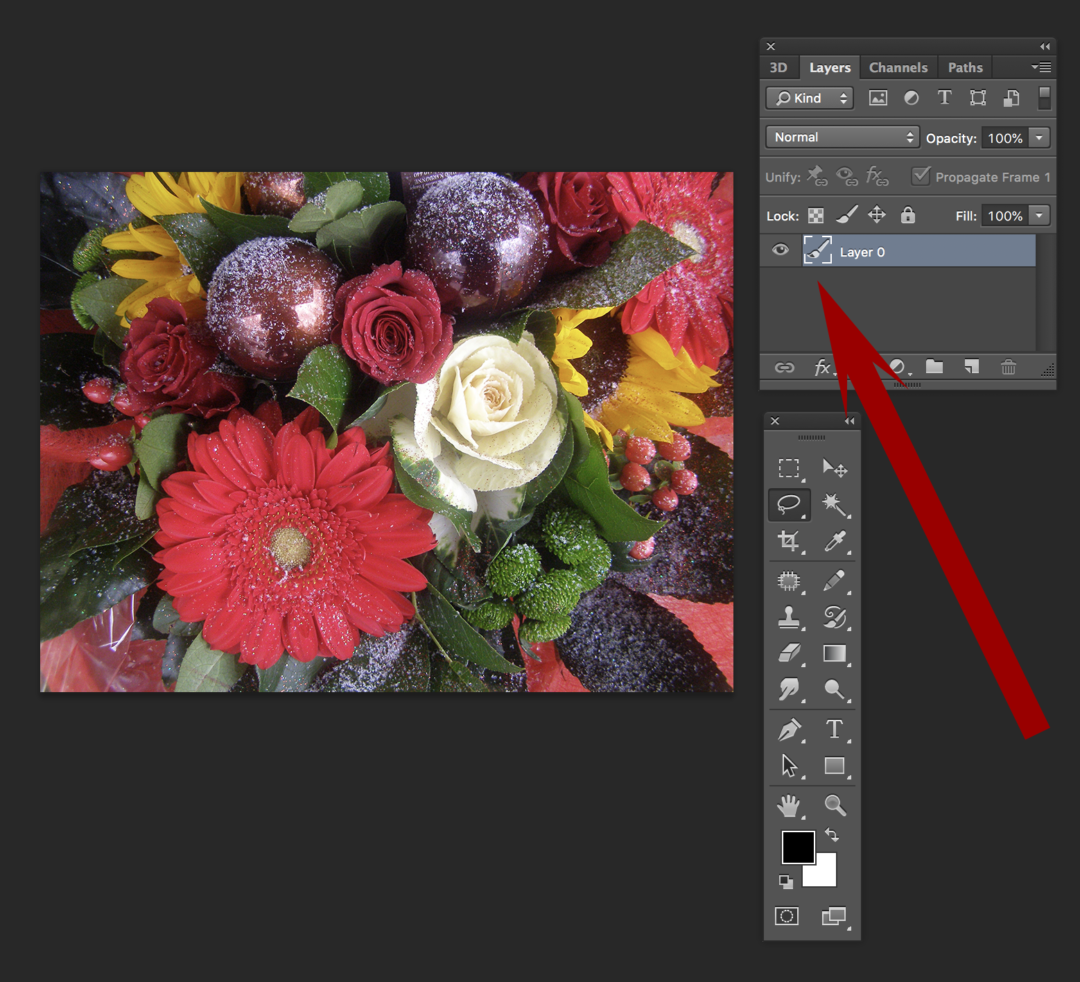
- Add a layer mask to your new layer.
Click the “Mask” icon at the bottom of the palette.

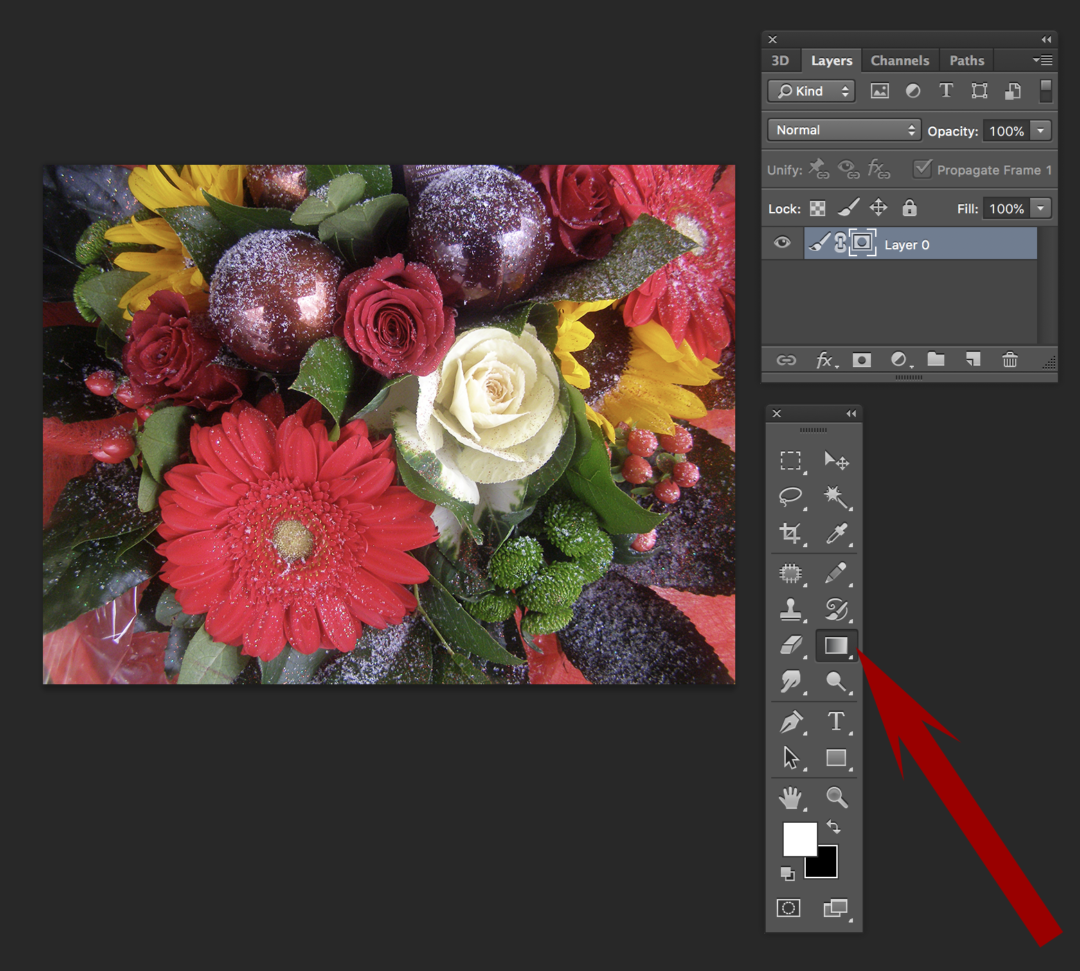
- A linked rectangle will appear on that layer.

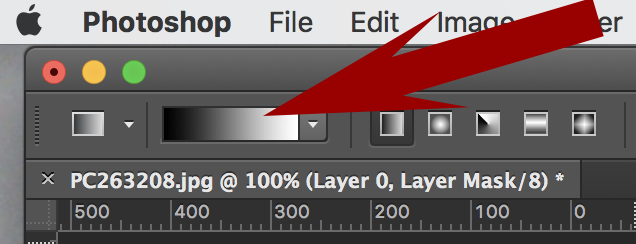
- Select the gradient tool from the tool palette
- Make sure the toolbar previews the black-to-white or black-to-transparent gradient
- Check your layers palette.
Is the layer mask highlighted? If not, click on it. Your just one step away from knowing how to fade an image in Photoshop.
- Determine the fade starting point.
Place your cursor at the point on the image that you want to be the lightest, click and drag to the point where you would like the fade to start.