Using iWork Numbers as a spreadsheet for a task chart can be a simple and effective way to map out your steps and track your progress. Numbers’ default setting, however, sets all text within a cell on a single line. If the text extends beyond the boundary of the cell, it will be hidden.
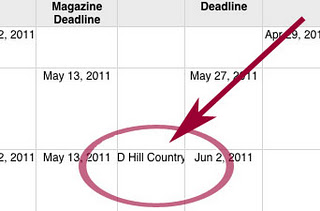
Here is an example of text extending beyond a cell’s boundary.
What you can see is “D Hill Country” but the entire content of that cell is “May 5 AND Hill Country Observer.” To fix it we want to wrap the text.
There are two ways to fix this problem.
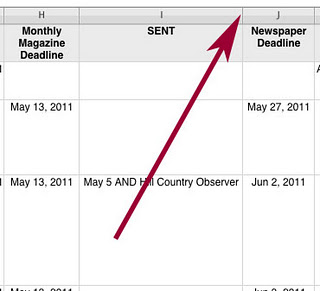
1. The first is to drag the right edge of the vertical column at the heading so that the cell expands enough to contain and display all the information, as illustrated below.

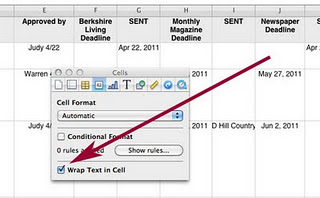
2. The second way is to instruct Numbers to wrap text in the box so that all content is displayed. To do this, highlight the cell in which you’d like all the text to fit. Then select Inspector from the tool bar at the top of your Numbers window. From within that dialogue box, choose the fourth icon in at the top of that window. (If you hover over that icon you’ll see it’s called the Cell Inspector. At the bottom of that box, check the Wrap Text in Cell box.
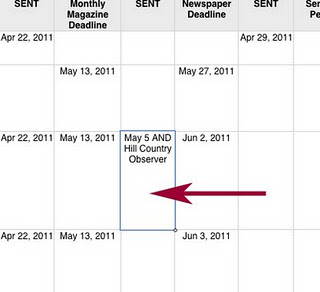
Once you tell the Numbers Inspector to wrap text in cell, it all fits!


