
Follow the three simple steps below and learn how to draw arrows in Adobe Photoshop CS6.
- Step One: Open the Image
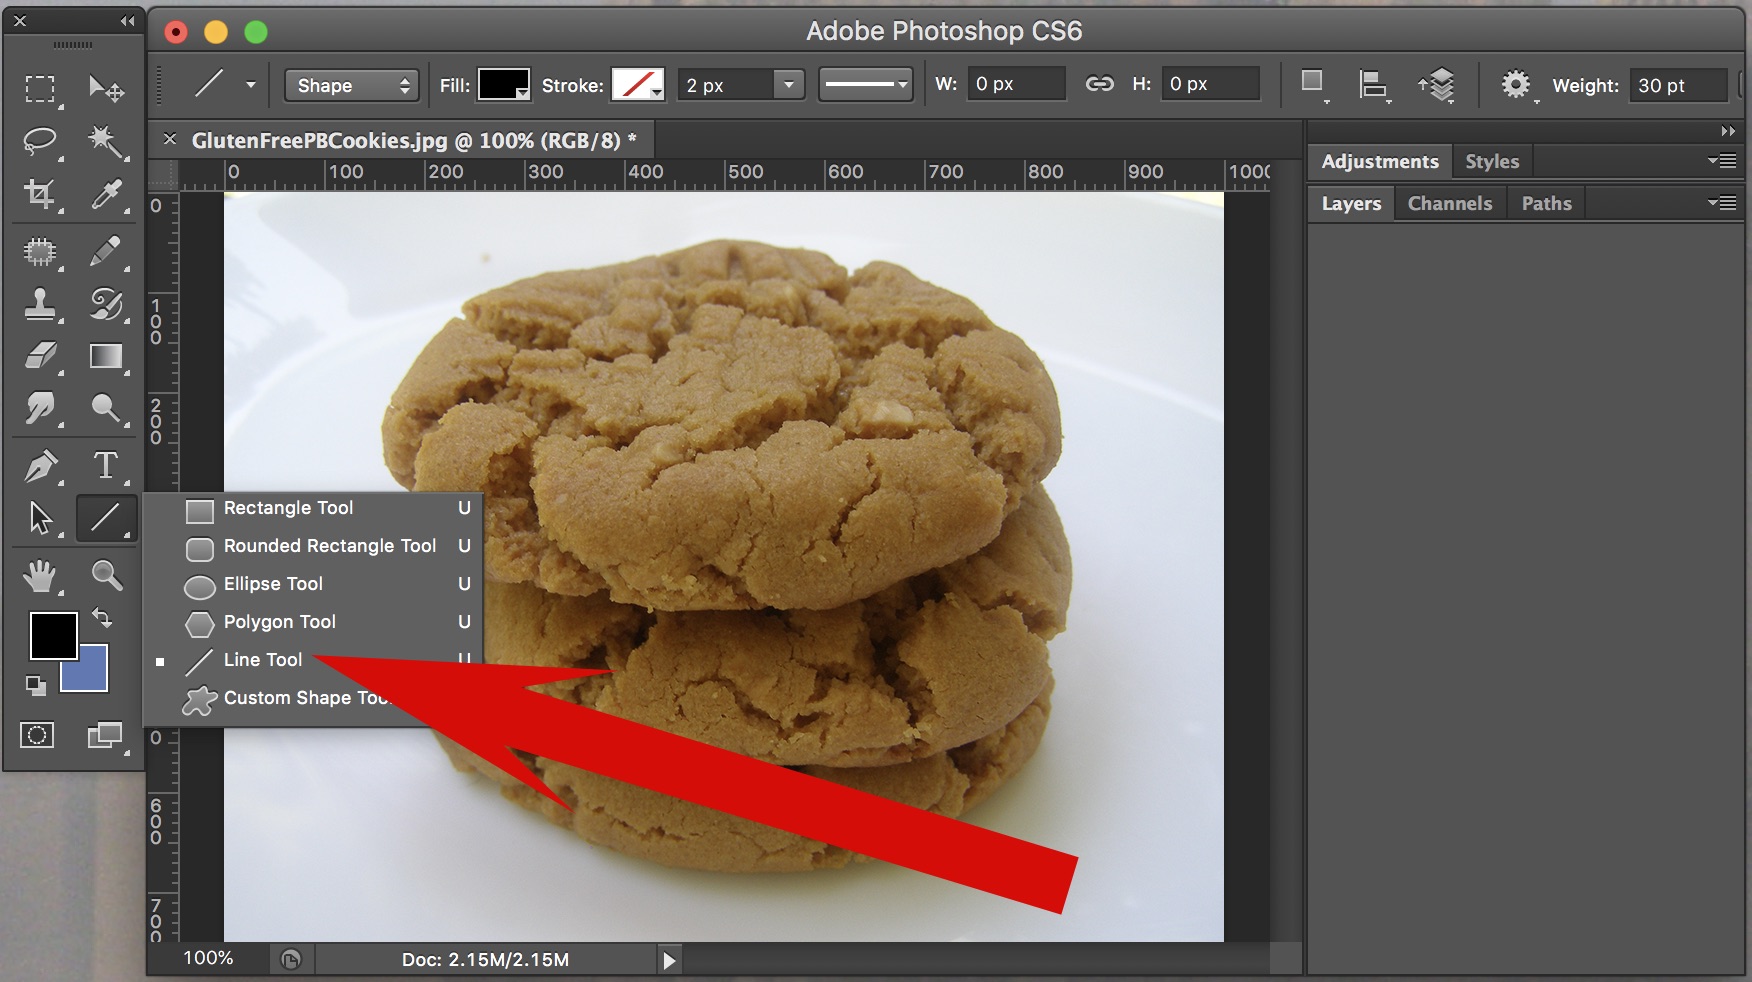
With Adobe Photoshop, open the image of which you would like to add an arrow. For this illustration, I am using a photo of my most recent batch of gluten free peanut butter cookies.

- Step Two: Select the Line Tool
From your toolbar, select the line tool. (If you don’t see the tool bar, go to “Window” in your Menu Bar and select “Tools”).
- Step Three: Click the Cog Wheel’s Down Arrow in the Options Bar To Style the Line
From the Options Bar (which is located at the top of your screen beneath the Menu Bar) click the down arrow button below the cog wheel. (If you don’t see the Options Bar, go to the Window Menu and select “Show Options”.)
Decide whether you would like to draw the arrow head at the point where you finish drawing the arrow or where you start. Experiment with different line widths by changing the weight.
You can change the shape of the arrow head by changing concavity. This measurement is displayed by percentage and can range from -50% to 50%.
To change the color of the arrow, double click on the layer thumbnail in the layers palette.
Now you know how to draw arrows in Adobe Photoshop. Let us know if this post was helpful? See our related post, How to Draw Arrows In Adobe Photoshop CS3.